

|
|
Desert Dawg - Building the
Cabin
Part
I
|
To get an idea of what the interior of the cabin will
look like I threw together this sketch. This would be looking down toward the
foot of the bed if the front of the trailer was removed. I need to get some accurate measurements for the plastic bins and then revise the drawing. 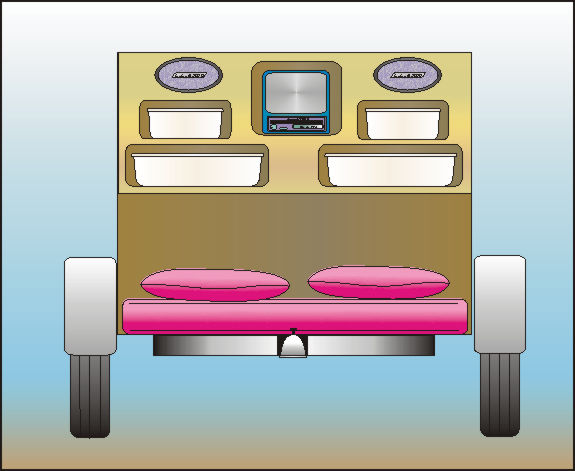 Build photos will be added once I start the cabin. June 29, 2005 The cabin storage area is probably the area that is least solid in my current design. I know that I want storage area for clothes and such, but I also want a little room for a radio and TV. I don't want the storage cabinet to protrude too far into the sleeping area either. There isn't a lot of space in the cabin of these trailers and I don't want to get claustrophobic because of the cabinets. I think that this is how I'm going to design the layout of my cabinets. The two lower bins will take up almost the entire width of the cabinet. The smaller bins will be on each side leaving room between them for a TV and radio. Actually having the storage bins has really helped me start to solidify my cabin design. 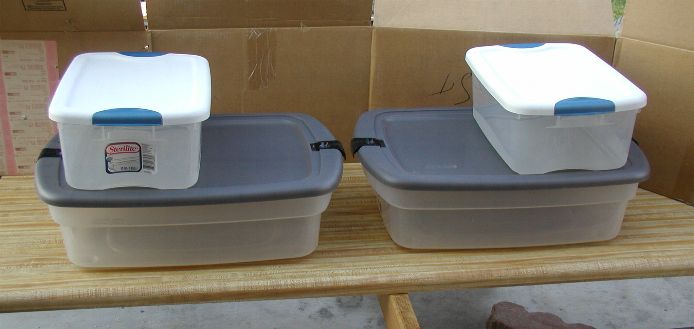 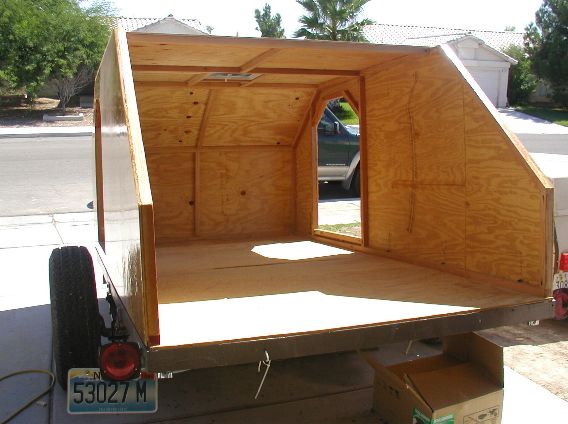 September 5, 2005 I moved on to installing the interior insulation. I was able to get a couple of pieces put in place before it started to get too dark to work. I'm hoping to get most of the interior insulation put in place tomorrow. 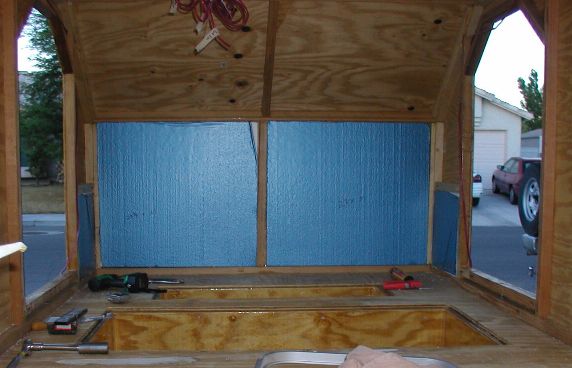 September 25-26, 2005 I've spent some time and finished installing most of the interior insulation. Although it's not difficult work, it sure makes a mess when I use a file to trim the pieces down to their final size. It has been time consuming to install the insulation but I'm convinced that it will be well worth the effort in the long run. I've also installed all of the "blocking" for the cabinets, rear counter, and front shelf. I *really* hope that I've thought about all the places that I will need to put screws into. The 1/8 Birch ply isn't going to provide much strength and the insulating foam, even less. 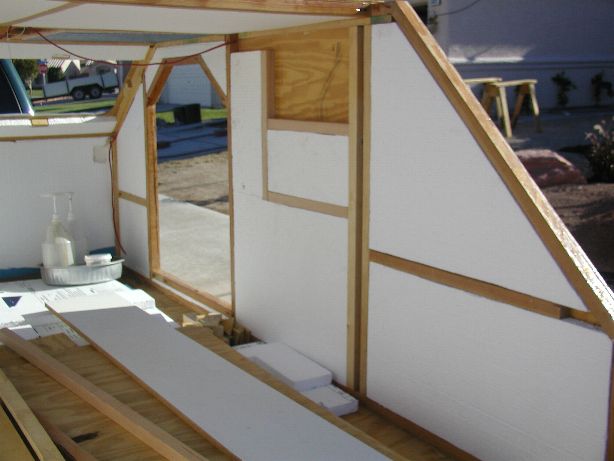 October 15, 2005 I've reached another minor milestone. I have finished installing the interior insulation. As with most tasks on this project, it's taken longer than I would have expected. I tend to spend quite a bit of time looking and thinking before I take the next step. So far it has kept me from having to tear out and redo work. Not to say everything is perfect, just that I can live with the mistakes that I've made to this point. In the teardrop forum I remember reading about builders thoughts for a second teardrop. I didn't think I would have those second thoughts. Wrong! I think it's inevitable to have ideas about different ways to approach the same task. That said, I'm still really pleased with the trailer. 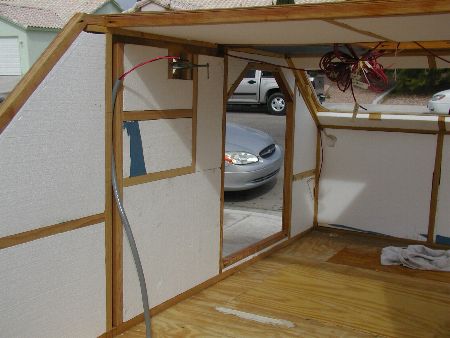 I started to cut the passenger's side interior paneling when I noticed some checking in the plywood. I'm not quite sure why that happened and I don't know if I can use this piece of birch ply. I'm a bit disappointed because I had spent close to two hours getting it to fit exactly as I want. I'm going to see if the checks can be filled in with the urethane finish or if I have to cut a whole new piece. At least I have the pattern for the new piece. October 30, 2005 A friend and I just spent a week long vacation in southern California. One of the neat things we did was to stay two nights on the Queen Mary. A portion of the ship's original cabins have been converted into hotel rooms. The ship was built in the 1930s and has an Art Deco theme throughout. The woodwork was absolutely amazing! We were told that some of the species are now extinct so it made it all the more impressive. After getting all my laundry done, it was time to spend a couple of hours on the trailer. I've been worried about my ability to cut the inside panels with enough accuracy to look nice when the interior is completed. With inspiration from my recent visit to the Queen Mary, I decided to give it my best effort.  I'm using 1/8 inch paneling and found that I can cut it with a sharp drywall knife. Let me digress for a moment. Drywall blades are sharp! Guess how I found that out? I wasn't paying attention to where my fingers were and when the knife slipped, I cut my finger wide open right at the knuckle. I didn't go and get it stitched up since the cut laid open a flap of skin rather than a penetrating cut. I'll keep a tight bandage on it for a few days and it will close up. I thought about taking a picture, but that would be a bit morbid. On the other hand, I will take a moment to emphasize safety and the importance of keeping a first aid kit handy. 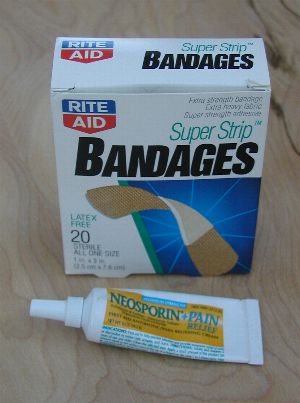 Ok, back to the build. With the exception of a previously noted bloody incident, I really like using the drywall knife to cut the paneling. It makes a clean and straight cut when made with a straight edge. I don't think I could have ever made as nice of cuts with a jigsaw. A router would work too but the kerf would have been larger and it would have taken more time to set up the template. 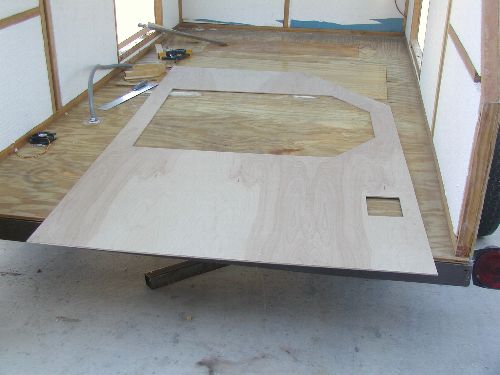 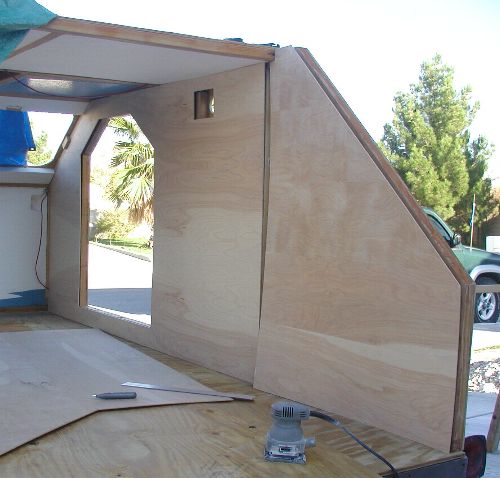 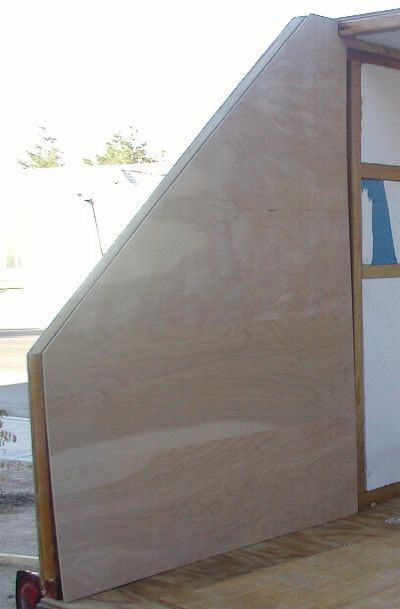 I want to keep the interior as light as possible so I've taken a scrap of paneling and started to test different color stains. I've tried Minwax Classic Oak and Honey Pine with a top coat of semi-gloss clear. 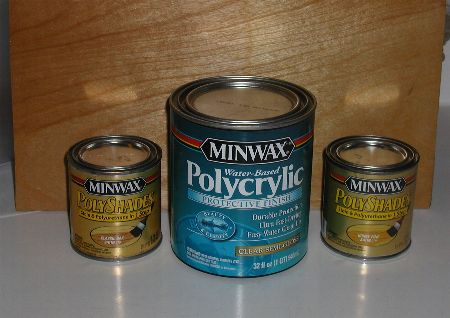 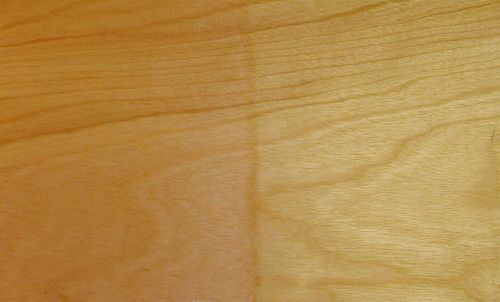 So far I have gone back and forth a number of times as to which I like the best. It's going to be a difficult decision for me. I haven't installed the panels yet. I want to get the driver's side wall panel cut and fitted before I install them with glue and brads. Once I do that I am going to have to seal up all of the openings in the trailer so rain can't get in. The current tarp has holes worn in it from the high winds that we have had. I purchased some clear plastic that I'm going to seal everything up with. It's going to make it more difficult to work on the trailer since I'll have to remove the plastic before starting. I'm looking forward to the time when the doors and hatch are in place. Those of you who work in a garage should be thankful! With today's success I feel more confident that I can do a nice job on the interior. I still have a long way to go, but getting all of the paneling installed and finished is going to be a huge milestone for me. Some days it seems like I'll never get done and on others it seems like it's well within reach. One day at a time! November 12-13, 2005 Here are the tools that I am using to cut the interior panels. The panels are 1/8 so I can cut them with the drywall knife. Initially I measured the interior and transferred the measurements to the panels. It takes a few passes to cut through the paneling but it makes a very clean cut. 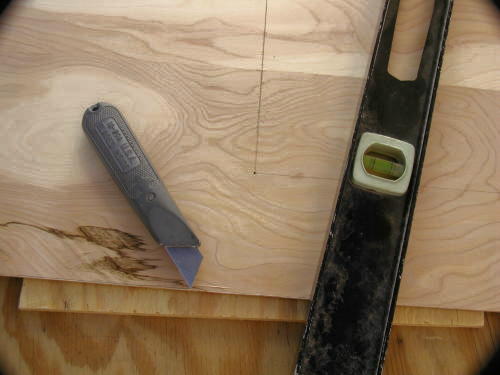 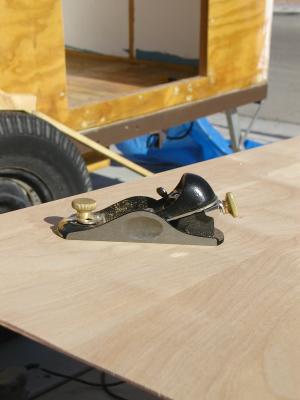 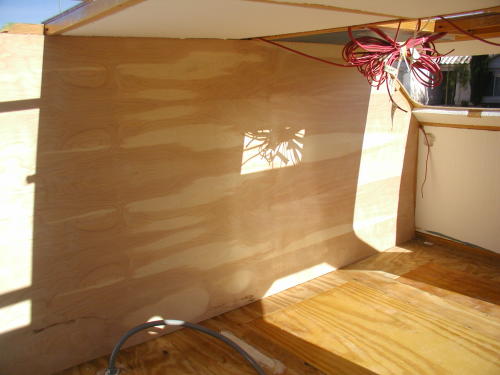 It took me a little thinking to figure out how to cut out the doors. I need to cut from the front side of the paneling but I could only mark the outline of the door from the back side. In order to transfer the outline I drilled a small hole at each corner of the door. Then I turned the paneling over and drew lines between the holes. Then it was a simple matter to cut out the door. The yellow arrow point to the cabin ventilation hole. There is one on each side of the trailer. A small electric fan will ensure that I get some airflow. 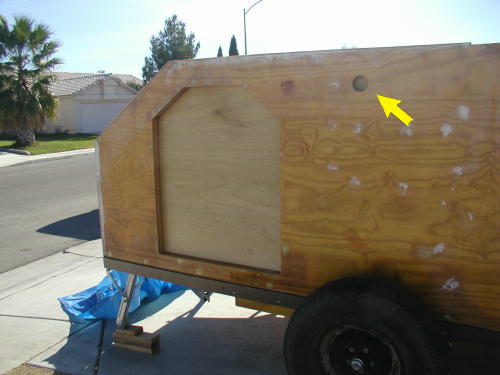 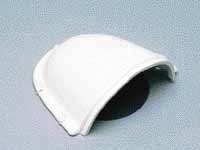 November 20, 2005 Building the trailer has become a bit of a puzzle. Many tasks on the trailer now require me to complete other steps first. With the flooring in place I can trim the outside edges of the storage lockers. Once the lockers are trimmed out, I can trim down the hatches to fit the openings and trim them out. Once the flooring is all done I can install the interior paneling. Like I said, it's like putting together a puzzle. Today's mission was to go buy the vinyl flooring and glue, then install the flooring. I've been keeping my eyes open for different floorings to see which one I wanted to use. I have decided against stick-on tile since I'm afraid it will start to peel up over time. I prefer a one-piece flooring in the trailer. 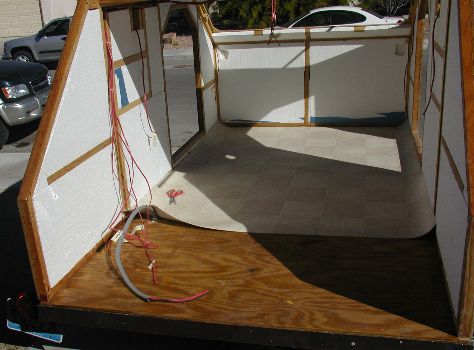 I had planned on taking pictures once I had spread the glue on the floor and before laying down the vinyl. The glue started to dry and I didn't want to have a huge mess on my hands, so I installed the vinyl and took pictures afterward.   Tomorrow is going to be a busy day. I want to finish installing the trim around each locker. Then cut down the hatches, glue the flooring to the hatches and install the trim around the outside of each hatch. If all goes well, it will fit together nicely. 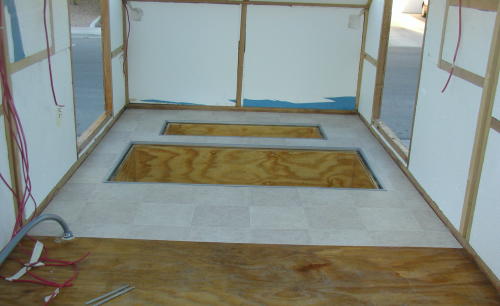 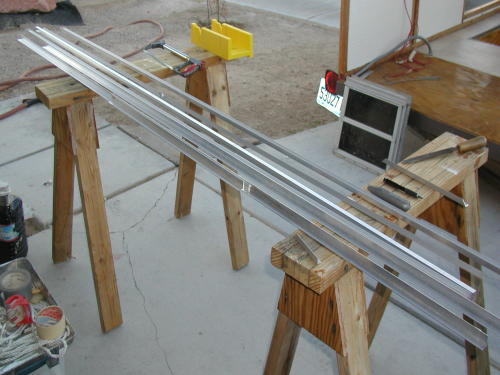 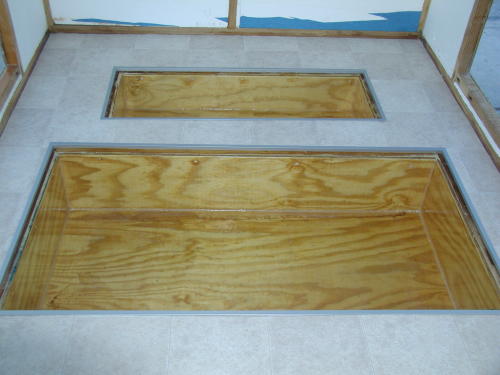 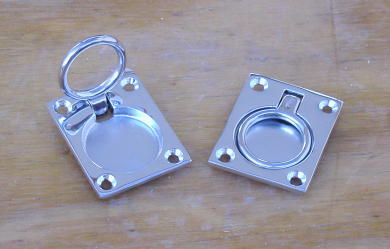 November 24-27, 2005 Happy Thanksgiving! I hope that you had a holiday with your friends and family. Although I should have been out shopping on "Black Friday", I decided to work on my trailer instead. The weather was pretty cold (for Vegas at least) so I did some of the work inside the garage with the heater going. Still most of the work was done outside. My goal for this weekend was to finish off the storage lockers. I was able to get close but didn't quite reach that goal. The amount of detail work to finish the locker covers took more time than I expected. The aluminum trim I bought wasn't drilled for screws so I had to drill and countersink every hole. I'm still waiting for the hardware store to get two more of the finger pulls in stock. 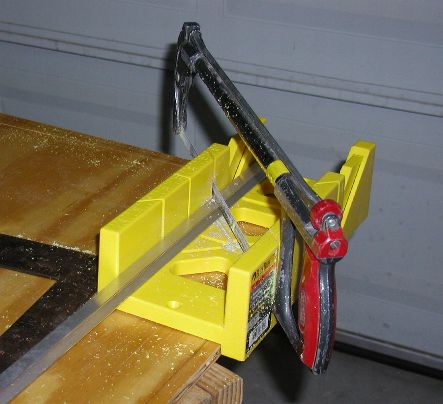 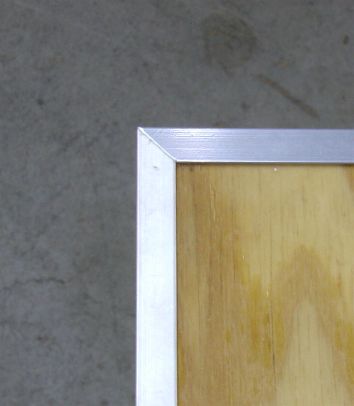 The edge molding that I have was made to fit on 1/2 plywood. The edging won't fit once the vinyl is glued in place so I have to route the edge just a little. 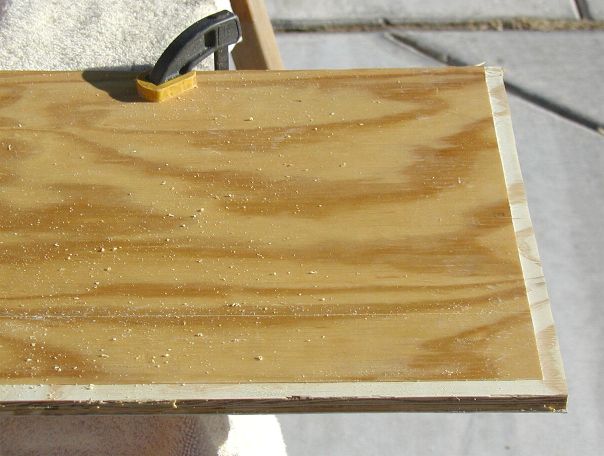 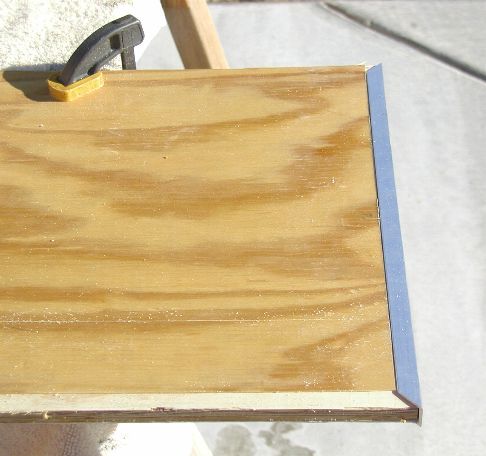 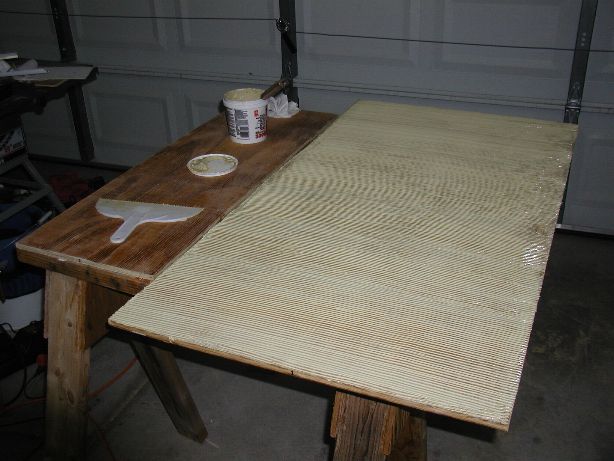 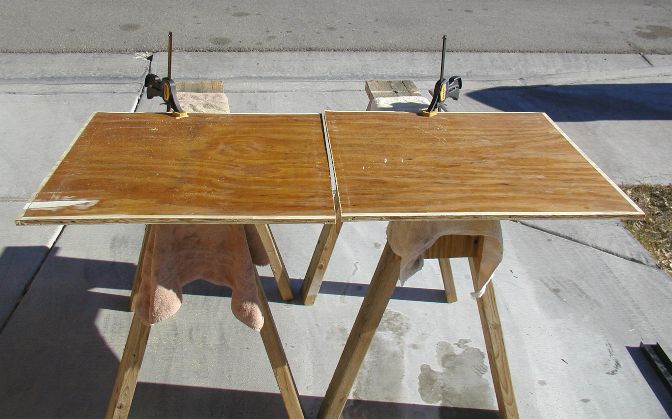 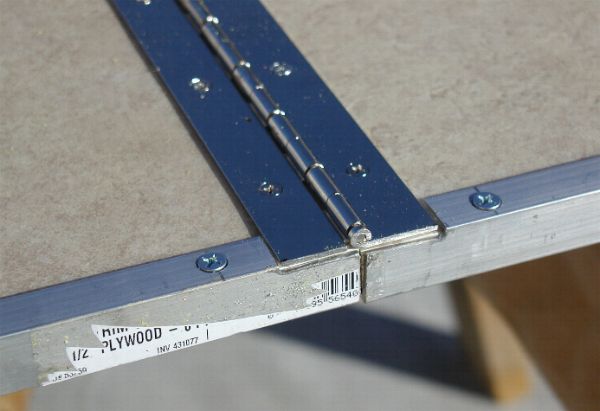 It was too dark to take pictures by the time I had finished both hatches. This weekend I'll take a picture of the completed cabin floor. I think it looks really nice. I also have to decide if I'm going to use the same flooring in the galley or if I want a different look. December 10-12, 2005 Sometime ago the local Ace Hardware had two of the finger pulls I wanted to use for the storage lockers. I bought both of them thinking that it wouldn't be long before they got some more in stock. It took almost another month before I could get the other two I needed. I was able to finish the storage locker covers. Check them off the list. 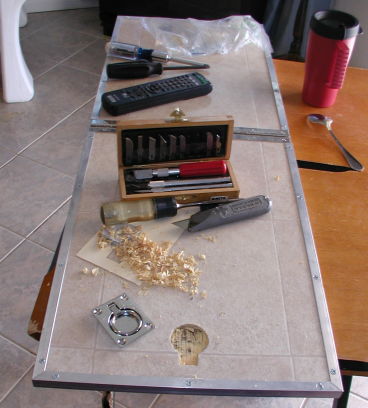 The next step on the interior is to apply the finish to the inner panels. I have the wall panels cut out and ready for finishing. I thought about using a paint brush but the test panels I did showed brush marks that I didn't like. I had read about using a spray gun to apply the finish. I've decided to try going that route. 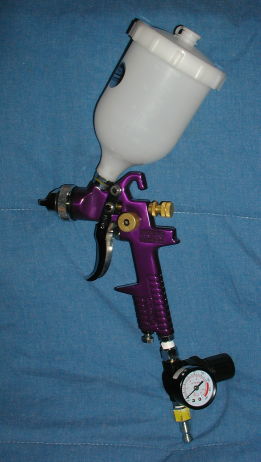 Before spraying the trailer walls I wanted to try some test pieces first. If I'm going to mess something up I want it to be a scrap piece. I'm using Minwax Polycrylic for the finish. It's a water based finish so it will be easy to clean up. I read how to adjust the gun on Sumner's website. After following his instructions I sprayed two coats on my test panel. It got too dark and cold to spray another coat, but the two coats I did came out great. I really think that the interior is going to come out much better. I'm really pleased that I was able to use the spray gun and have the finish look good. |