


 |
 |
 |
|---|
Desert Dawg - Building the
Shell
Part
IV
|
August
19-20, 2006 I'm making progress on the hatch. Slow progress, but progress none the less. I've been able to resolve the epoxy issue by working in the morning when everything is cooler, and pouring the epoxy mix into a paint tray liner so it won't generate as much heat. I was worried a little about the strength of the hatch in the hinge area. The ribs are butt joined to the crossmember that is attached to the hinge. The exterior sheeting made the structure stronger but I was still concerned so I decided to box it in. Now the load will be distributed to the ribs through the sheeting rather than through the butt joints. 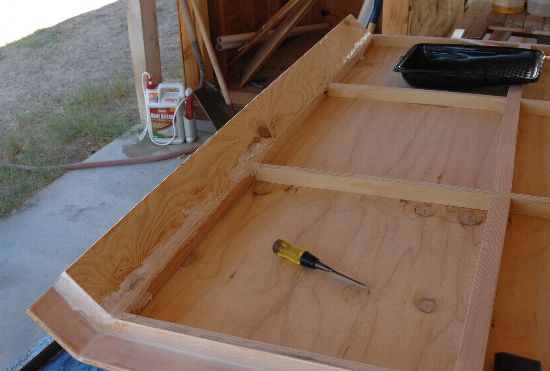 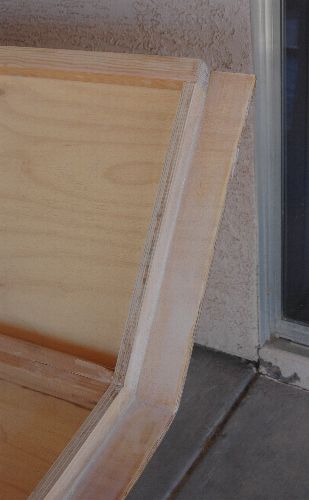 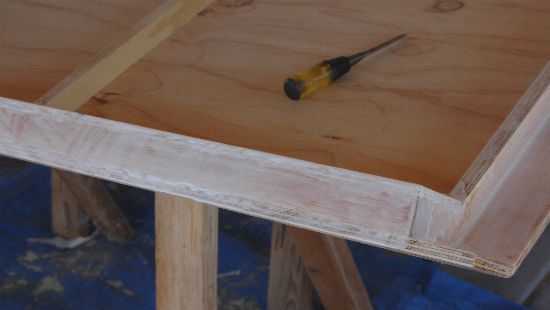 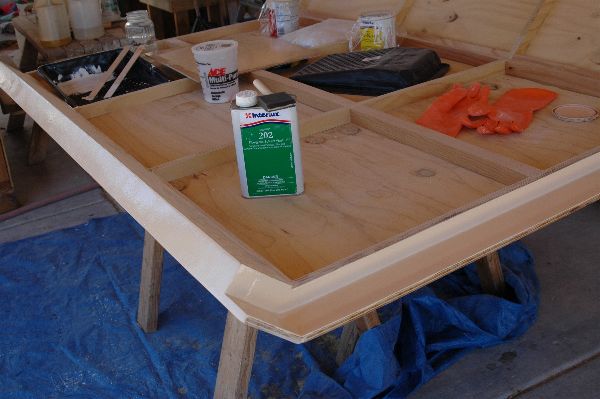 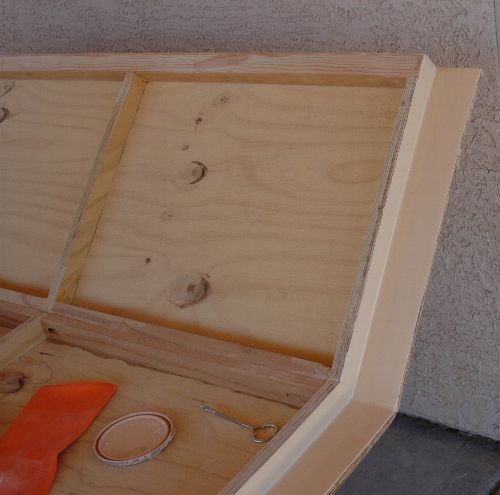 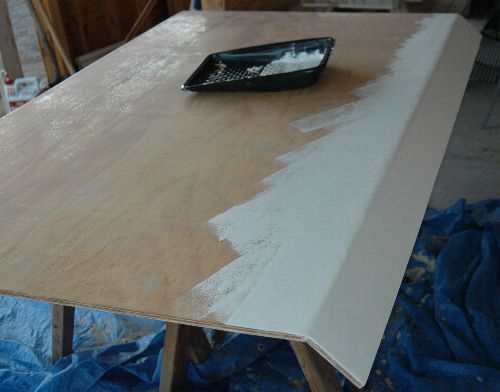 I'm moving on to the door latches. Although I have departed from teardrop tradition in a lot of places in my build, these door latches are pure "Old School". You'll find these same ones on tears dating back to the '40s. Here's another thought if you are building your own teardrop. Notice that I haven't installed the windows yet? I left them out so I could lean into the trailer to work on the weather strip and door latch. Once everything is complete, then I'll install the windows. 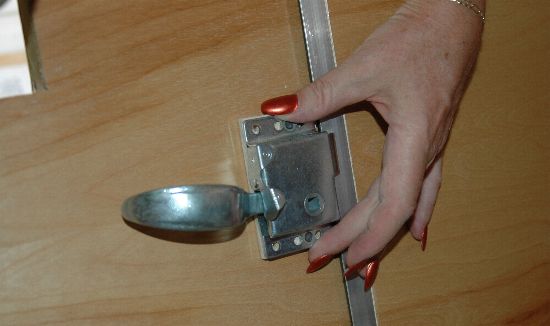 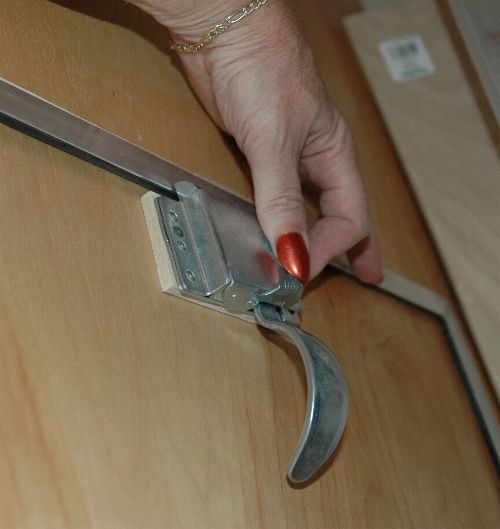 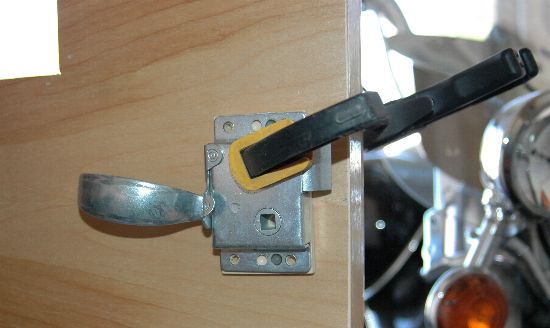 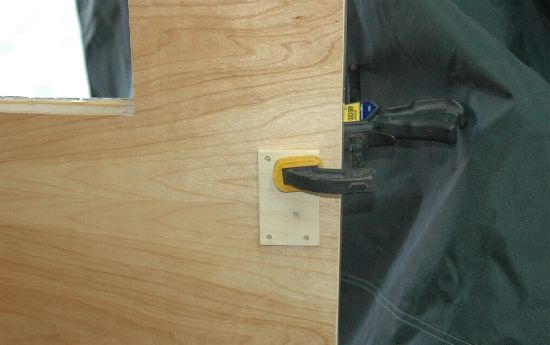  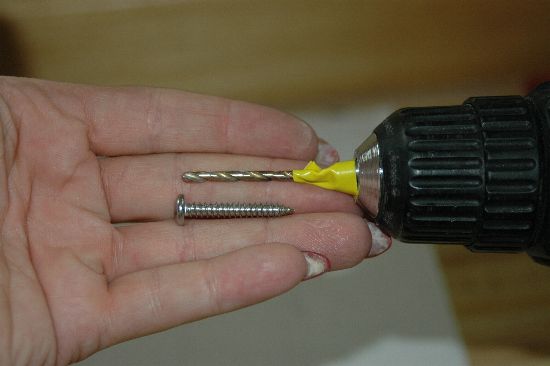 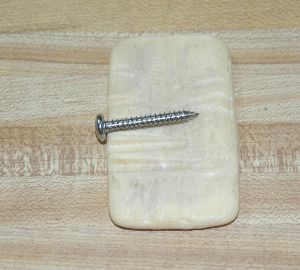 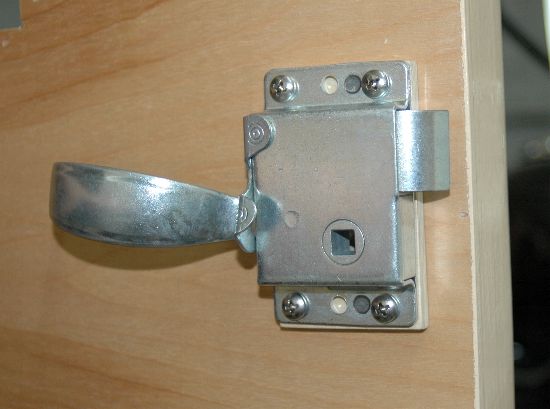 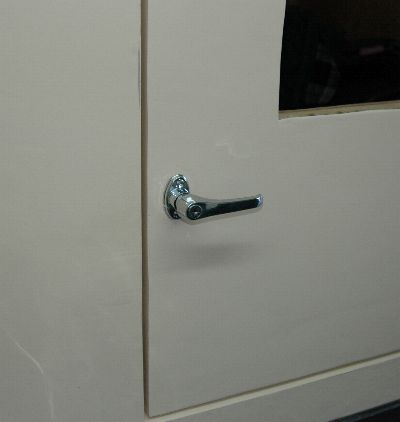 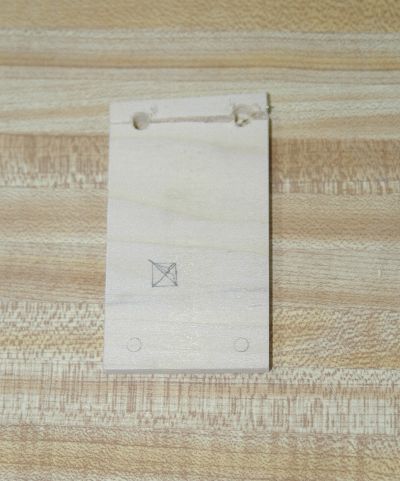 September 9-10, 2006 This weekend was pretty well lost to a nasty ear infection. A trip to the doctor procured some antibiotics but it takes time for them to take effect. That aside I was able to get the primer and two coats of paint on the rear hatch. Next weekend I should be able to get the hatch installed. 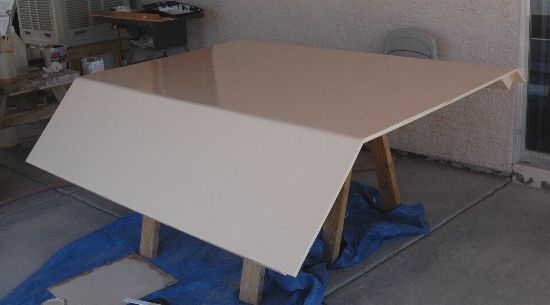 Tomorrow is September 11, the fifth anniversary of the terrorist attack on the World Trade Center. My thoughts and prayers go out to the families of those who lost their life that day. My prayers also go out to those who ignored their own safety to help others and are suffering medical problems as a result of their selfless act. September 16-17, 2006 Well, today was a major milestone for the Desert Dawg. The hatch is now in place! For the first time the trailer has all the major parts in place. There is still a lot of work to do, but there is light at the end of the tunnel. 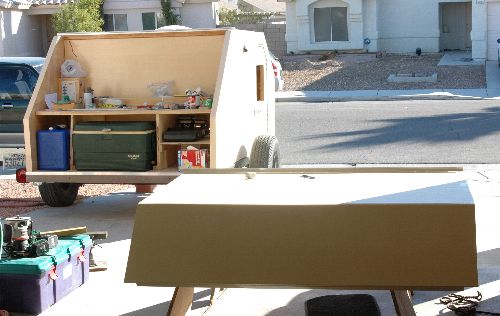 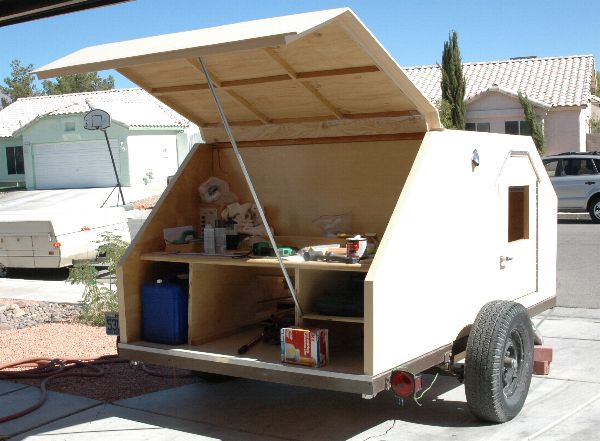 September 22-24, 2006 Bet you can't guess what I bought. No....not the hose. I bought aluminum diamond plate! My original drawings (over 2 years ago now) had diamond plate and I really like how it looked against the painted walls. You just can't believe how much of a pain it was to get this stuff!! The first steel supplier I tried didn't carry anything thinner than 1/8 inch. Across town, the next supplier carried .063 but they were out of stock! The next supplier had the thickness I wanted, but they couldn't schedule it to be cut for 4 or 5 days. In fear of never finding it locally again I bought a sheet, then called the first place to see if they could cut it on their shear. Sure enough they could get me right in. Back across town to get it cut. As you might guess it was an entire day process to get the stuff. I hope it's worth it! 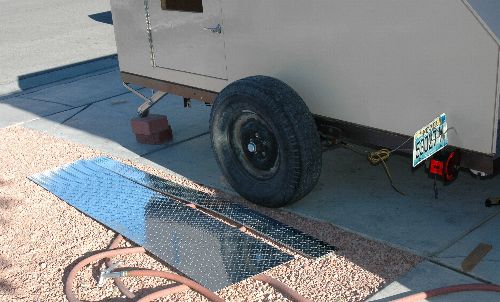 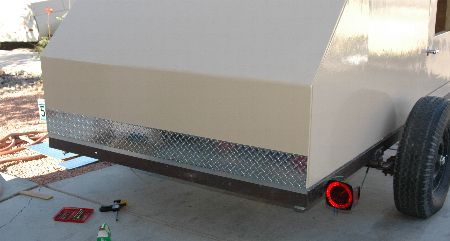 I decided to go for an 18 inch tall piece in front while the sides were 6 inches. After looking at it I think I would have gone 2 inches shorter in front. Still, I like it. 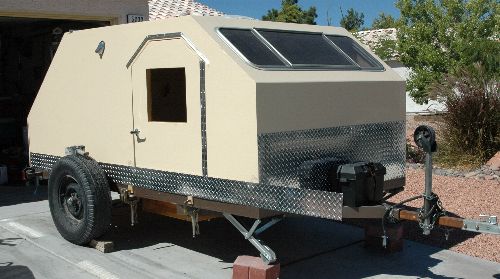 Here's this side pretty well done. I think I will attach the door cutout piece to the door so I will get a smooth line down the side. 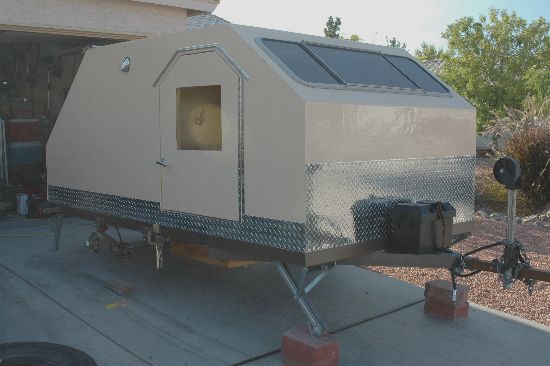 October 1, 2006 I finally decided to install the windows regardless of whether I've had time to find the rubber seals I need to rebuild them. Once I find the new seals I'll take the windows back out and rebuild them. It's really starting to look like a trailer! 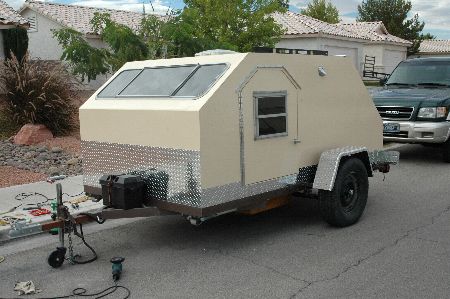 October 20-22, 2006 I had planned to make a cover to go over the front window so it wouldn't be damaged during travel. You see these covers on the front of almost every travel trailer and it makes sense to have one for the Desert Dawg too. I wasn't in a big hurry to make it until we had a couple of rain storms come though the Las Vegas valley. Much to my surprise, the front window leaks! I figure that if I build the window cover correctly then it will keep the rain off the window as well as protect it from flying rocks. I'm going to make the frame out of aluminum angle and use painted masonite as the window cover. Pop rivets will hold the whole thing together. 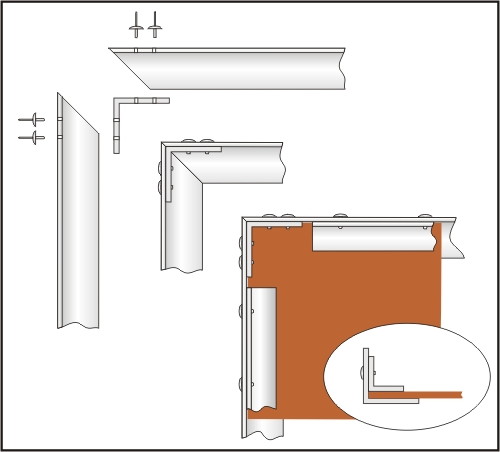 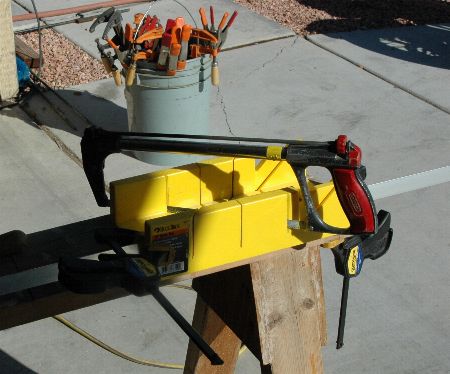 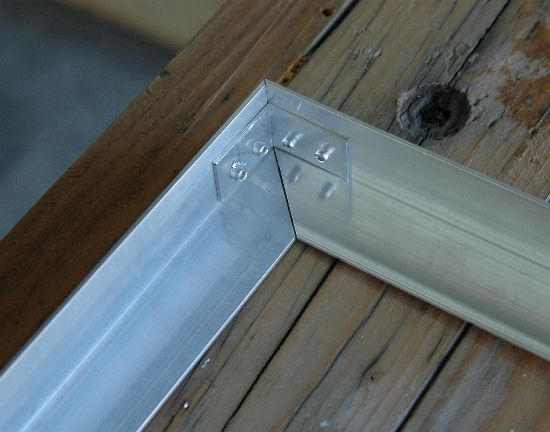 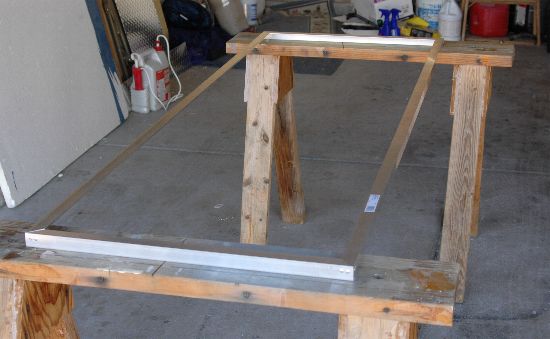 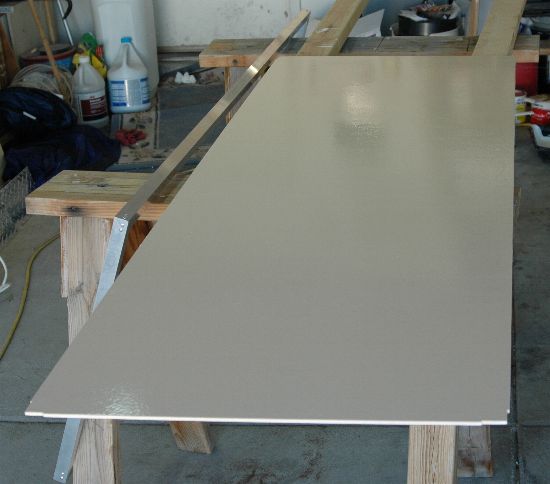 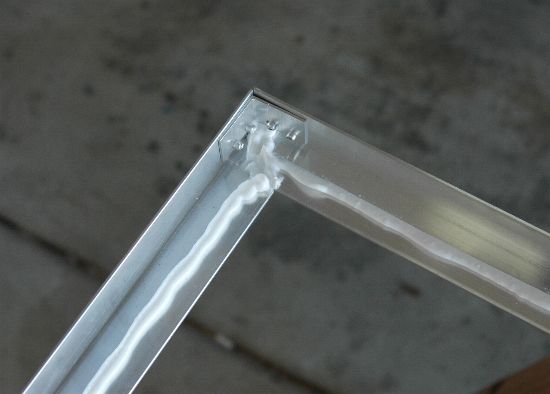 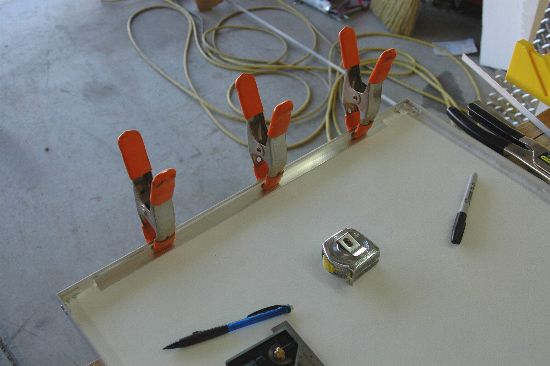 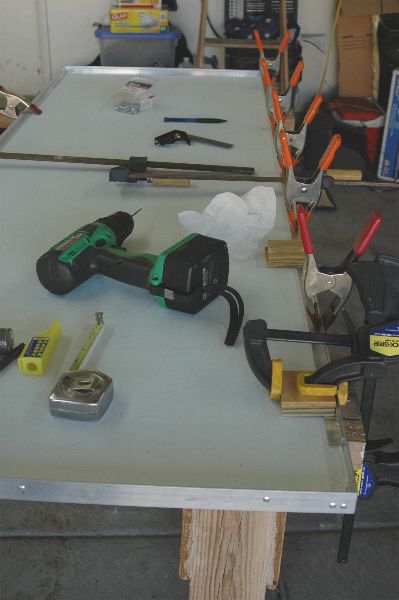 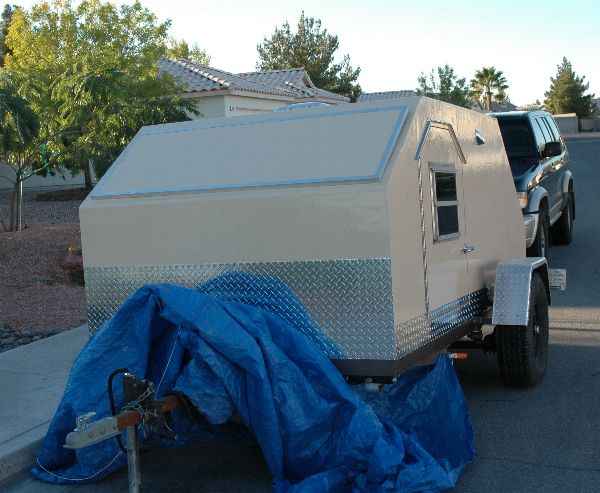 I still need to figure out how to attach it to the trailer. I've thought of hinges but I would like it to be easily removable. I've considered threaded studs screwed into the trailer but I don't know how well the 3/8 inch plywood would hold the studs. I'll come up with something! In the meantime I have finished the diamond plate trim on the driver's side door. I really like how the whole trailer is turning out. November 25, 2006 It's time to install the rear latching mechanism. I purchased a locking handle that are used on pickup truck camper shells. (I think they call them caps in other parts of the country). I had originally planned to have the handle attached to crossbars that would go into holes on the side walls. That plan was scrapped about a month ago when it rained and the rear hatch decided to start warping. I had read that if you seal one side of the wood that you should seal the other side as well. This keeps both sides dry and reduces the change of warping. I had glassed the outside but had not painted the inner surfaces of the hatch. Sure enough, the humidity went up when the rain came and I had a warped hatch. After I quit crying I decided to try and pull the hatch back into shape using a motorcycle tie down. It helped a lot but the hatch still doesn't quite close as tightly as I feel it should. I've decided use the center handle to provide a convenient way to lock the hatch, then to put draw-down latches on each corner so I can make certain that it is sealed shut. 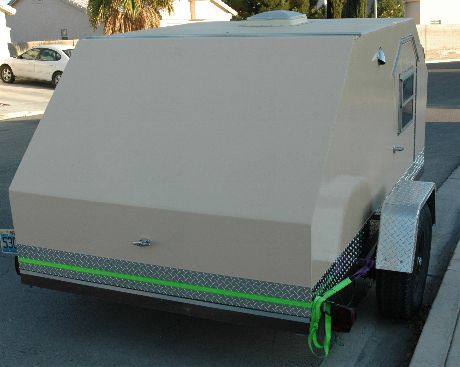 I purchased the cross-bar that is normally used on camper shells to latch the rear hatch, then cut off one side because it is going to run vertically rather than horizontally. 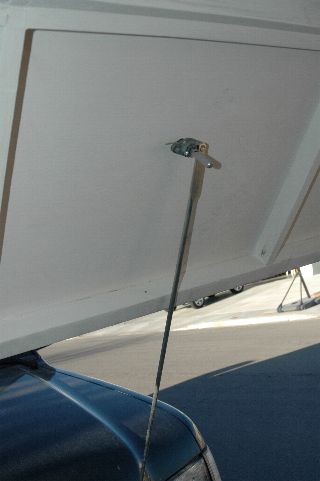 I played around with the handle for a while until I figured out how long the bar needed to be, then cut it to length. I drilled a hole through the lower part of the hatch for the bar to slide through. 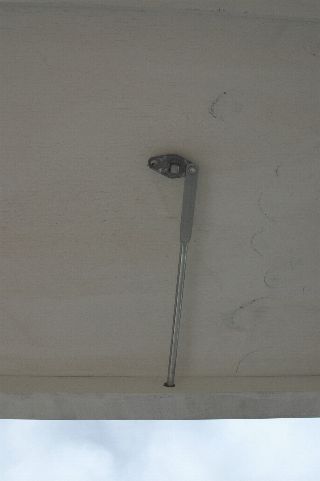 The bar just pokes through the bottom of the hatch and goes into a hole I drilled in the floor of the galley. Although it took a bit of fiddling to get it all to work, none of it was very difficult. 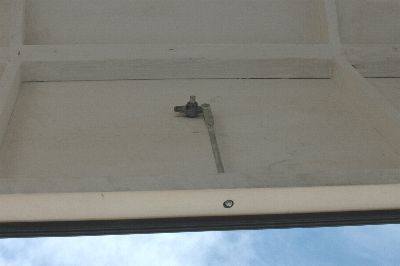 Although I'm a bit disappointed that I have to add latches to each corner of the hatch, it will still work out OK. The rear handle will let me close and lock the hatch while the corner latches will ensure it stays dry inside. April 14, 2007 I have found a set of "pull down" latches for each corner of my hatch. I had hoped that I could just use the center handle, but I have realized that these latches will be necessary to ensure that the hatch seals firmly all the way around. There are a couple of nice things about these latches. First they come with a variety of different catches so you can certainly find one that will work just right. Secondly, it is a safety latch with a lock to keep it from popping open while traveling. To release the latch, you push on the little button on the right side of the latch. And of course it's all stainless steel. 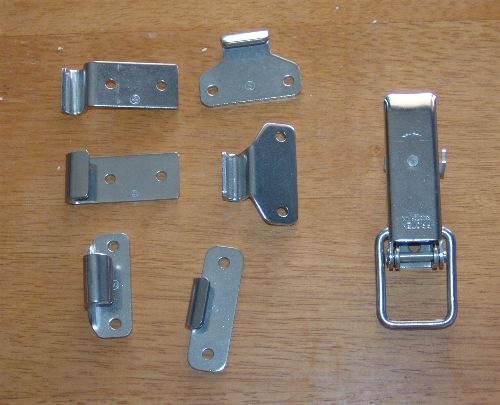 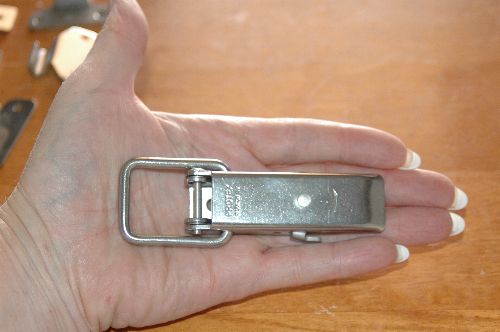 June 1-3, 2007 I have been really looking forward to is the installation of the gas struts. The hatch is HEAVY! Opening it and propping it up with a stick was starting to get old. I was worried that I would bump the support and the hatch would slam down and kill me....or at least smack me in the head hard enough to do some damage.. I'm planning on installing panelling the inside of the hatch so I need to build up the area where each strut will attach. The extra wood will also help spread the pressure of the struts holding the hatch open. 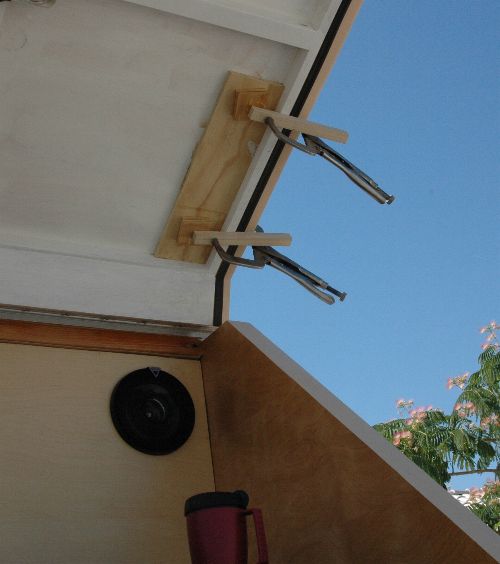 I've added a second piece of poplar that brings the mount up flush with the hatch rib. Now I can attach the panelling and the strut will still have a solid place to mount to. One of the big challenges for me was to figure out the geometry of the strut so it would hold the hatch up and still be able to close without binding against anything. My solution was a combination of math and trial-and-error. I cut a piece of plywood and clamped it to the side wall. That way I could try various mounting positions before drilling into the real wall. 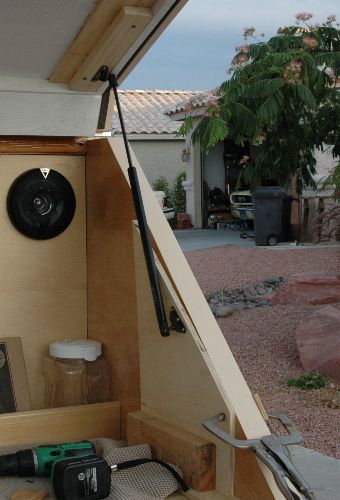 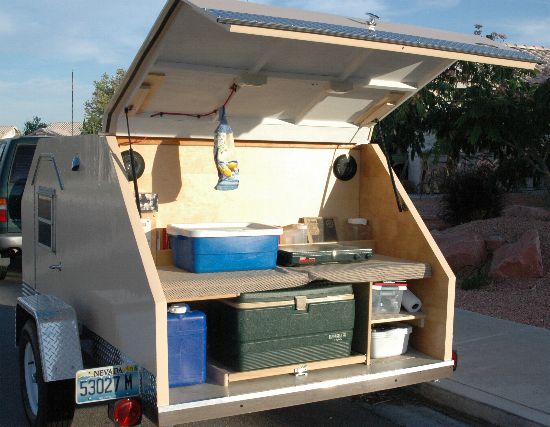 June 23, 2007 It's time to finish the hatch. I'm using the same insulation that I've used throughout the rest of the trailer. You just can't have too much insulation out here in the west. 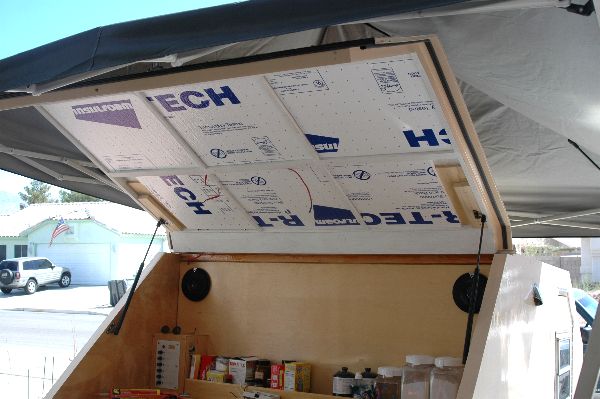 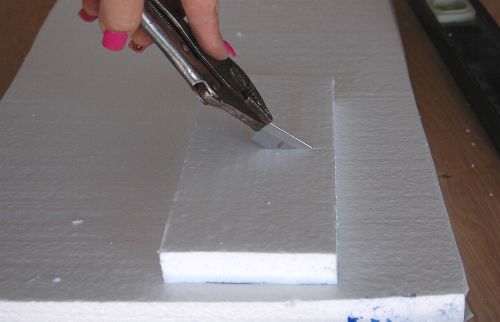    February 23, 2008 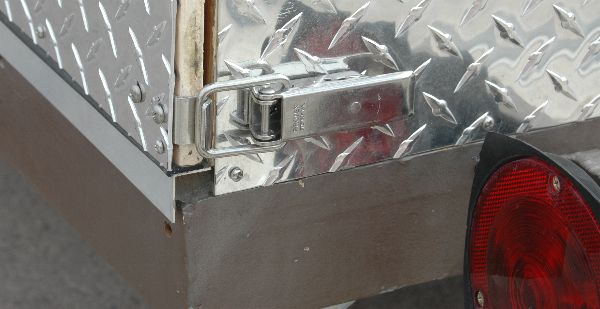 One of the tasks I've been putting off is installing the aluminum trim around the top of the trailer. It's time to get to it! 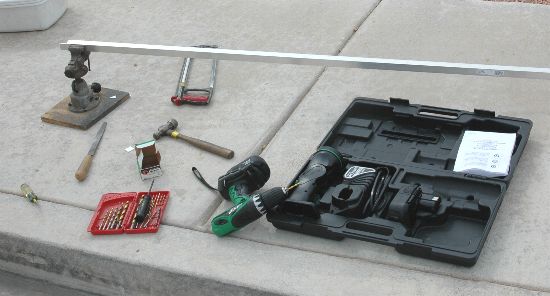 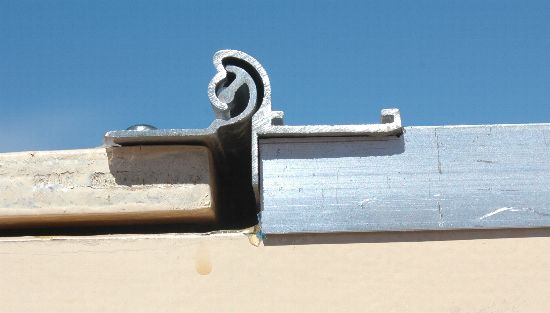 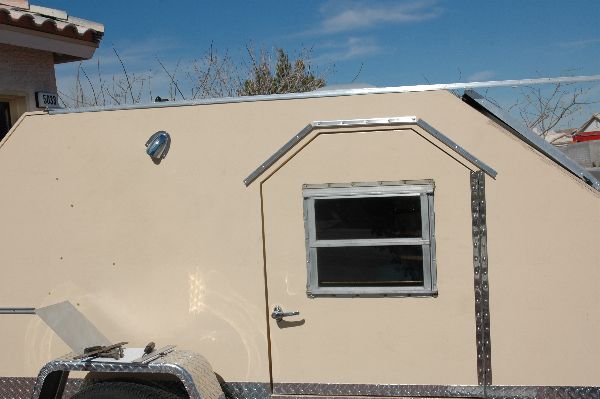 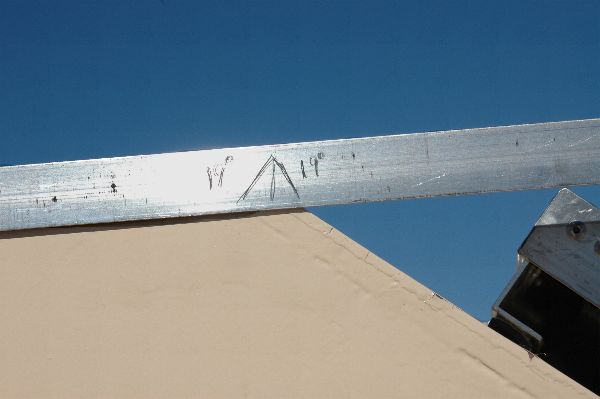 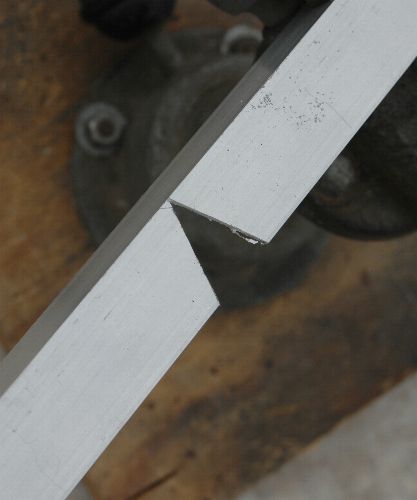 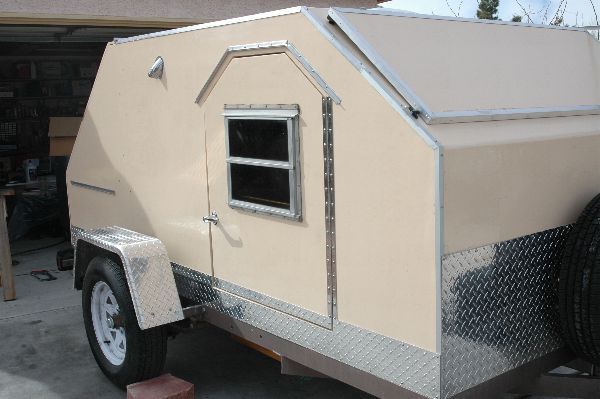 March 1, 2007 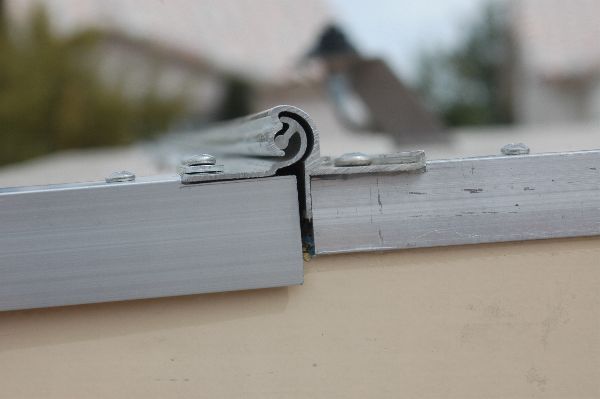 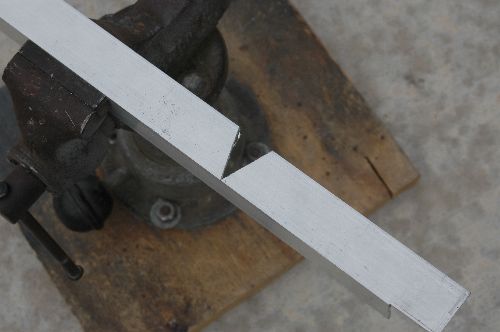 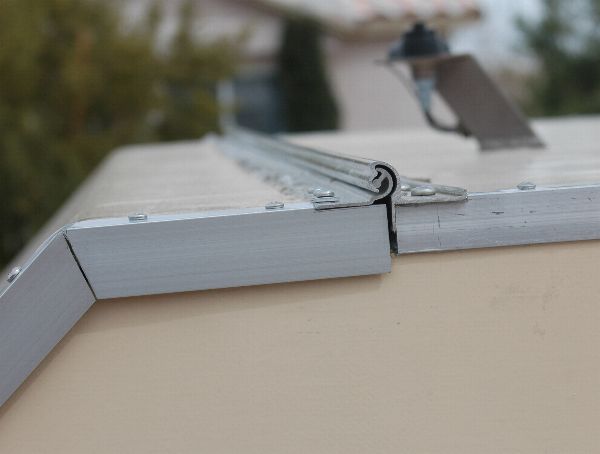 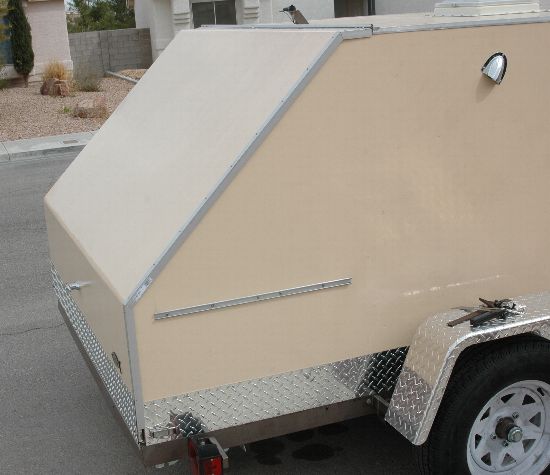 |