
|
|
Dutch Oven 101 - Basic Equipment
|
Dutch Ovens. It seems like you can't go to a teardrop
event without seeing them everywhere. Dutch Ovens have a long history from
Lewis & Clark to early Mormon settlers to modern day campers. Why are they
so popular? Because they are the most versatile cooking utensil you will ever
find. They can be used as an oven to bake in. They can be used as a slow
cooking crock-pot. They can be used as a stew pot. And, by flipping the lid
over, you can use the lid for a griddle. There's nothing quite like the smell of fresh biscuits wafting through the campground. An evening around the campfire eating hot peach cobbler is a memory that your children will never forget. With a little practice you can cook anything in a dutch oven from a one pot meal to a gourmet dinner. The following web pages will take you through the basics of Dutch Oven cooking. What is a Dutch Oven? Simply put it's a cast iron pot with a tight fitting cast iron lid. They are often used for cooking in your oven, but there are special ones made for camping and cooking with coals. Here is a Dutch Oven that is made for use in your kitchen oven. Notice the rounded lid and lack of feet on the bottom. 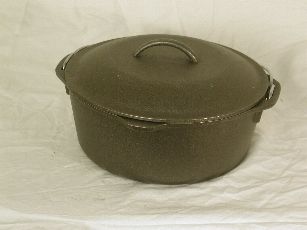 Here are two Dutch Ovens that are made for cooking with wood coals or charcoal. The lids are flat with a raised rim around the outside edge to keep the coals from sliding off. The pot has legs that lift it up above the coals so the food won't burn. 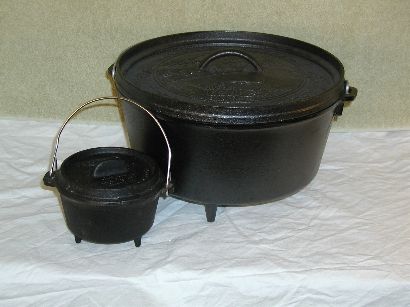 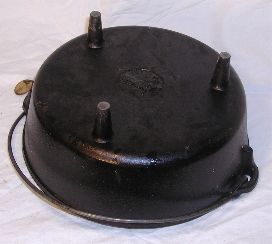 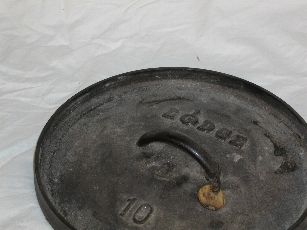 Dutch Ovens come in a wide variety of sizes. Small ovens can feed just one or two people while large ones can feed a small crowd. Here is an example of the different sizes available. 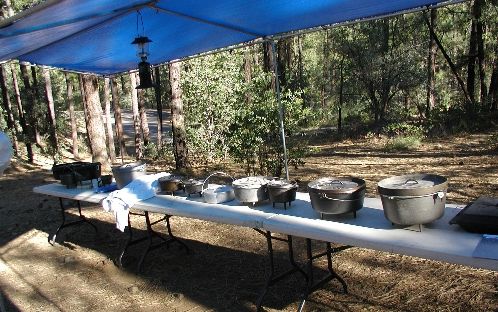 Getting Started...What do I need? So let's say I'm ready to buy a Dutch Oven, what size should I get? Most people will want to start out with a 12" regular depth oven. It's a very versatile size and most DO recipes are written for a 12". Note: If you are cooking for just one or two, you may want to step down to a 10". When you go to the local sporting goods store to look at ovens you may see some ovens described as "deep", such as a 12" deep. Deep ovens are good when you want to roast chicken or beef, or make a big pot of chili, but if you want to bake cobblers or biscuits you will want a regular depth oven. Like many hobbies, in DO cooking can get as extravagant as you wish or stay as simple as you wish. Here is an example of simple cooking at the campground. 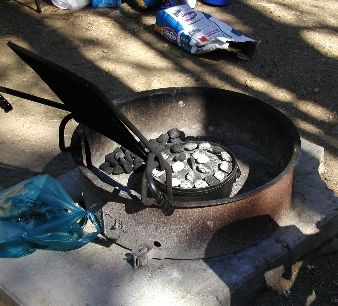 At an absolute minimum you only need three things: the Dutch Oven, something to lift the lid with and something to position the coals with. Additional accessories will making cooking easier but you don't need a lot of hardware to get started. In the picture below I'm using a claw hammer to lift the lid off and a pair of inexpensive tongs to position the coals. The bail (the wire handle) of the pot will get hot so I use my lid lifter, in this case the hammer, when I need to move my oven around. 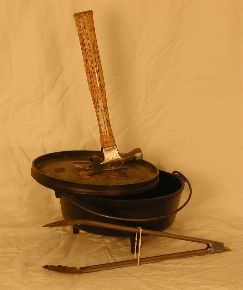 Just a few more tools will make your Dutch Oven experience more fun and convenient. From left to right, a Mair lid lifter, a whisk broom, charcoal starter, and welding gloves. 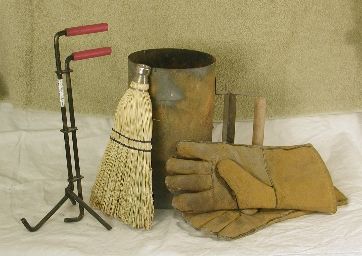 The Mair lid lifter is the Cadallac of lid lifters. It holds the lid securely so that it doesn't accidentally tip and drop ashes into your food. After using one you will wonder how you ever lived without it! 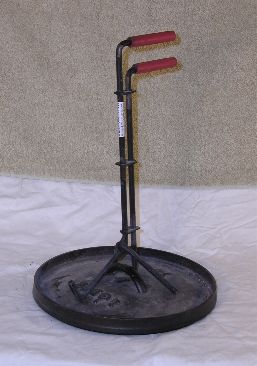 This charcoal starter allows you to start your charcoal using crumpled up newspaper rather than using a liquid fire starter. The handle also makes it easy to move your lit charcoal to where you need it without having to move each coal using tongs. It's a real time saver. 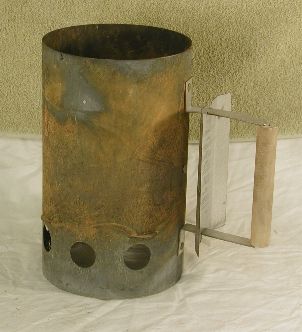 Being a responsible DO cook. In recent years we have learned that the environment is fragile and that we should use care as we enjoy the outdoors. Careless Dutch Oven cooking can harm the local environment. Charcoal placed directly on the ground will kill any plant life and temporarily sterilize the ground beneath. The accepted practice for DO cooking is to use existing fire rings or a raised platform. Below are pictured two simple techniques for cooking up off the ground. 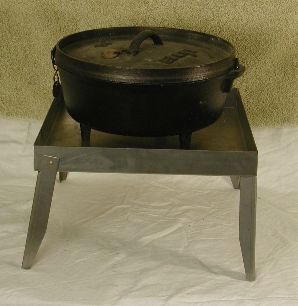 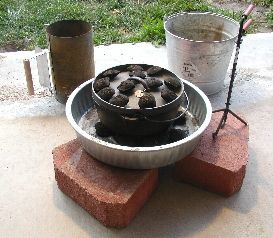 Above, on the left, is a picture of a specially made cooking stand with legs that fold flat. At right is a metal pan used for changing the oil in cars. Agriculture stores often sell metal feed pans that work great. An inexpensive charcoal grill or even a metal trash can lid will work just fine. The ultimate in Dutch Oven cooking has to be the DO table! Rather than having to lean over to cook, the table positions the oven at just the right height. Sweet! The tables are made out of steel so there's no worry about the heat from the coals. 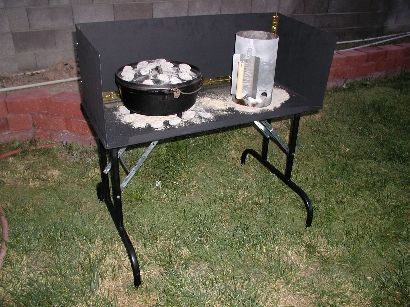 I made this one from a flat piece of steel and folding banquet table legs. The wind screen folds down and makes a compact (if heavy) unit. Some heatproof black paint finishes the table. |