

|
|
Desert Dawg - Building the
Galley
Part
II
|
April 6-7,
2007 The ice chest and stove trays are finished and ready to be installed. There is a limited amount of space in the galley so the installation needs to be carefully throughout. The ice chest can weigh a lot so it needs to be mounted very strongly. 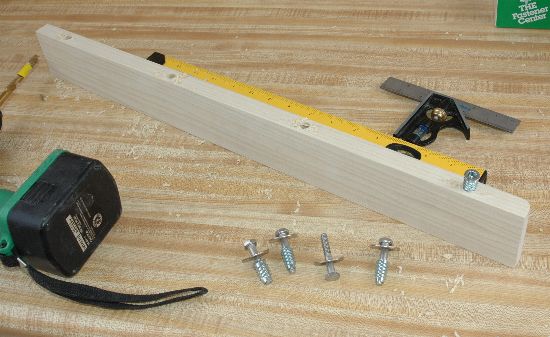 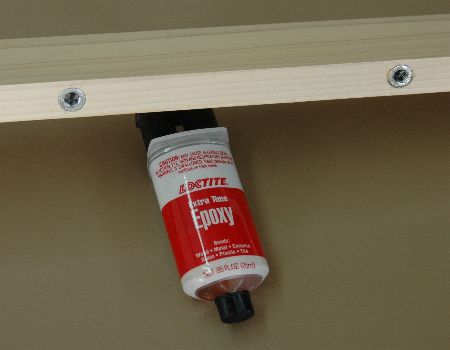 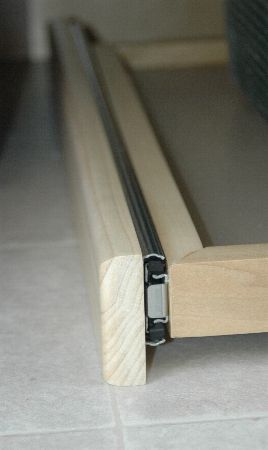 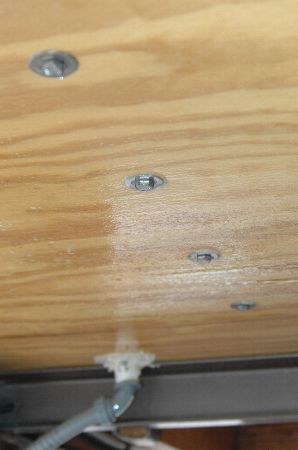  The stove tray was a challenge because it needed to be as close to the side wall as possible. If it wasn't right against the wall, the tray would bump up against the top of the ice chest. I made some metal brackets that screwed into the counter top cleat. 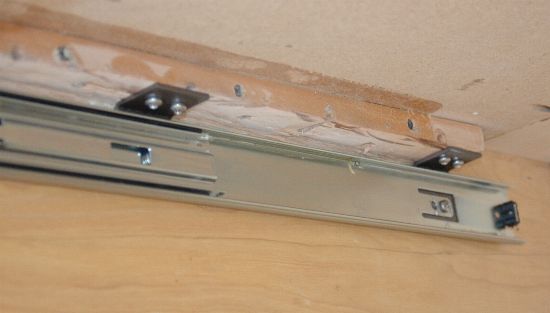 The right side rail needed to be glued directly to the bottom of the counter top. Although I used polyurethane glue, I also used 6 pocket screws to secure it to the counter top. 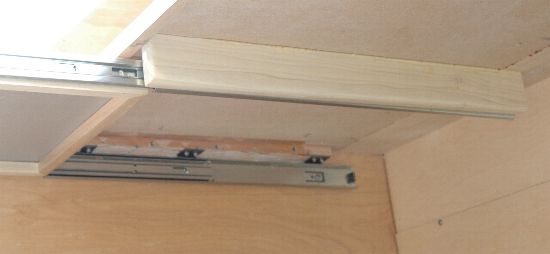 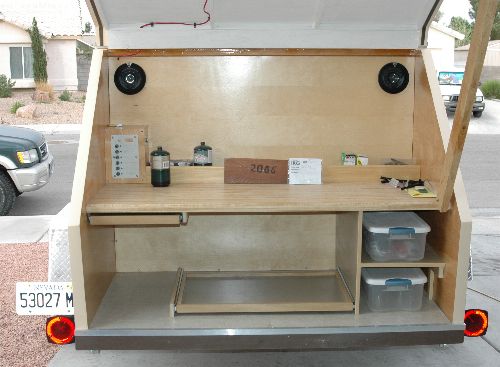 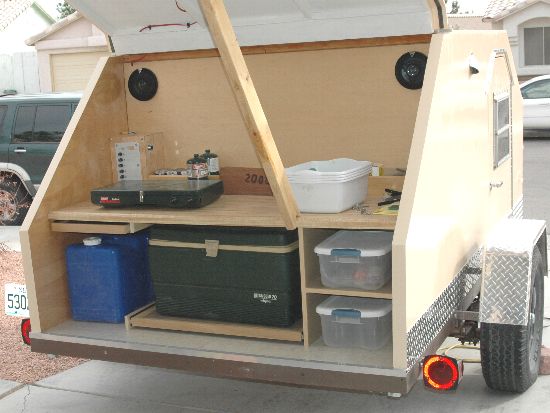 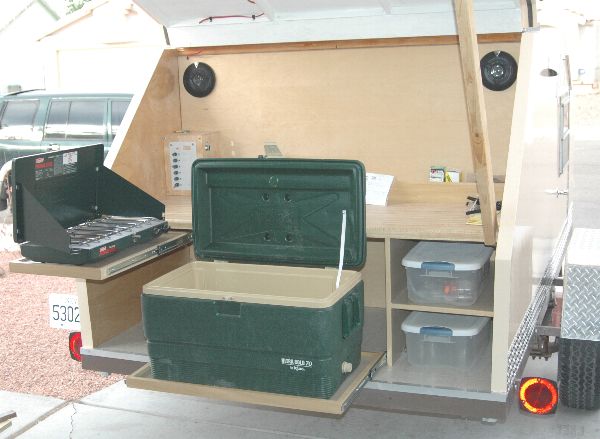 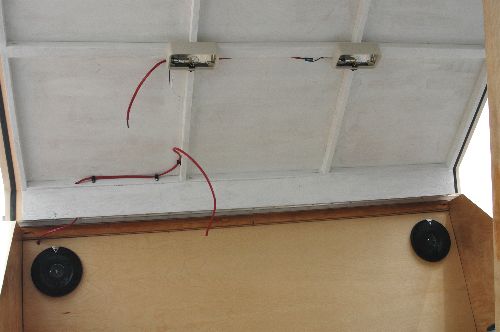 April 28, 2007 It's amazing the places you find materials for your trailer. I was walking through Costco when I saw a roll of anti-slip mesh cloth. I was planning on buying some from a boat store, but this was MUCH less expensive than the boat place. I'm putting the stuff on every shelf so things won't slide around and mark up the paneling. I'm also going to cut a piece to lay across the counter top when I'm traveling since the stove will be up there and probably a box of groceries as well. 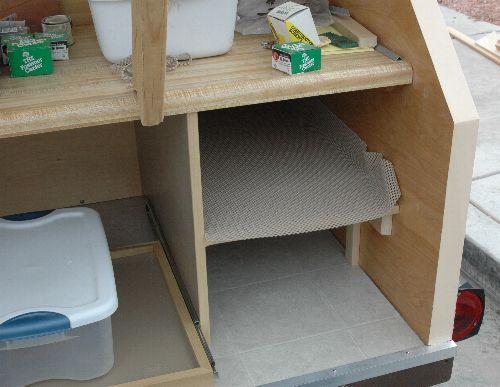 June 1-3, 2007 The initial outing with the Dawg showed me a couple of small items that I had overlooked. One thing that was annoying throughout the entire trip was the fact that the cooler kept sliding out. Any time the trailer was even a little nose-high, out it would slide. A trip to Ace Hardware provided me with the perfect solution, a small window latch. My shins are now safe! 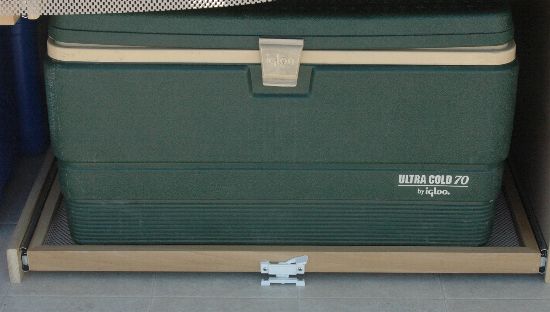 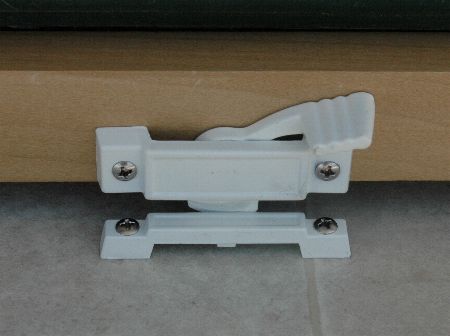 My next door neighbor is redoing a small travel trailer and asked it I wanted the table out of it. You don't have to ask me twice! It's in really great shape considering its age. No scratches. No stains. The color isn't bad either. At least it's not avocado green... The only problem with the table is that it measures 4 feet wide. It was used as part of a fold-down bed so it needed to be wide. I figure I can cut it down to 3 feet and it will be perfect. It will certainly save me a lot of time and effort. Thanks Dottie!!! 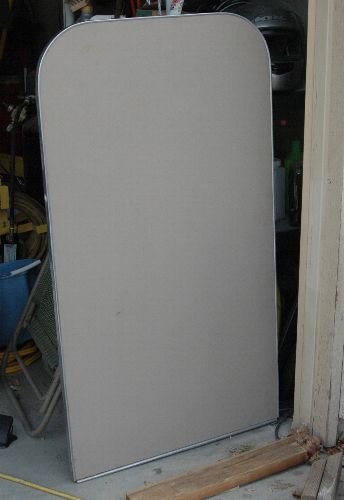 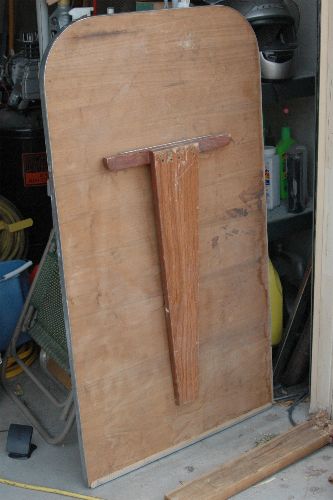 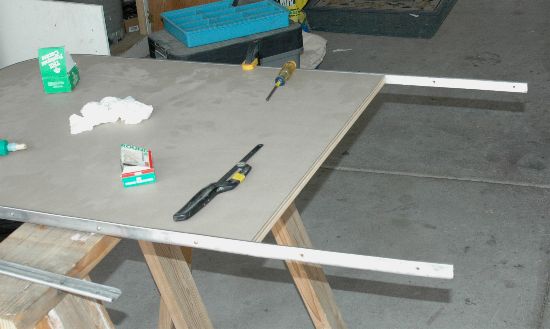 Here's the mock-up of how it will be mounted. I want to make a new leg that will attach to the lower edge of the trailer frame. That way I won't have to worry about whether the ground is level whenever I want to use the table. 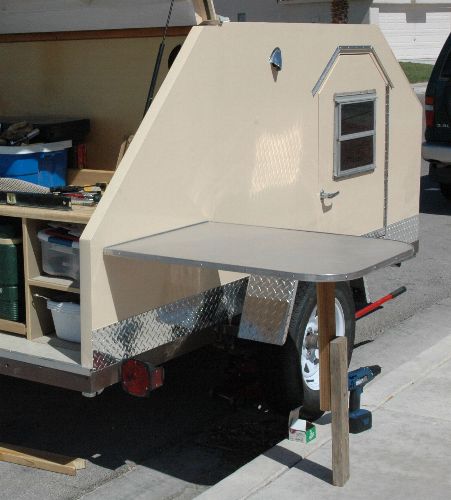 June 12-13, 2007 I want the table legs to lay flat when I travel and swing down when I'm ready to mount in on the side of the trailer. The legs will be made out of 1/2" square tubing so I can run a threaded rod through it and make it act as the hinge. 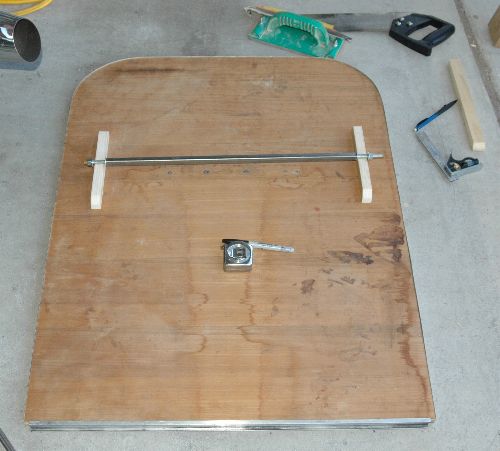 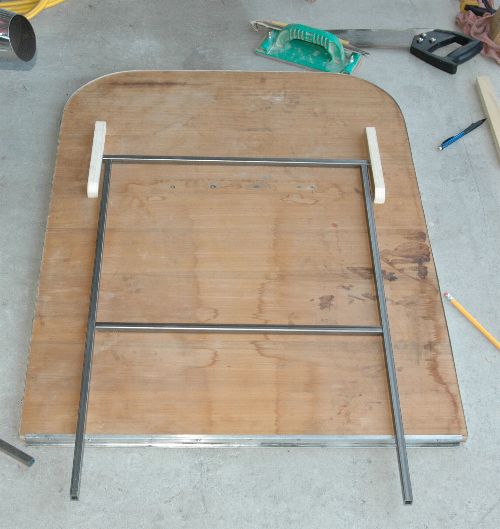 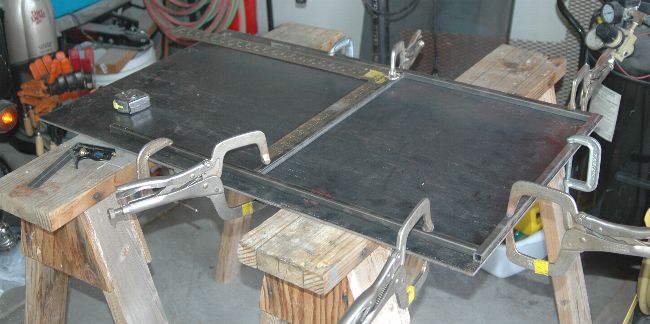 June 16-17, 2007 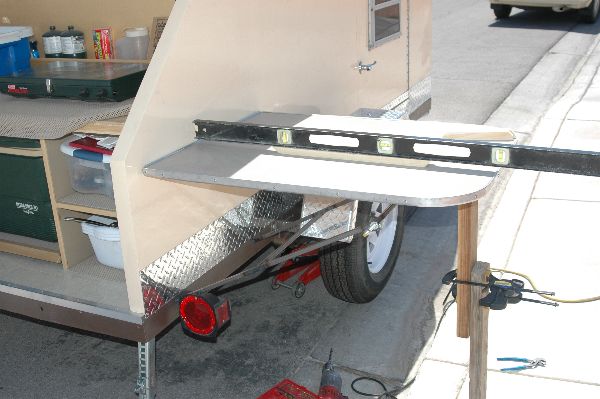 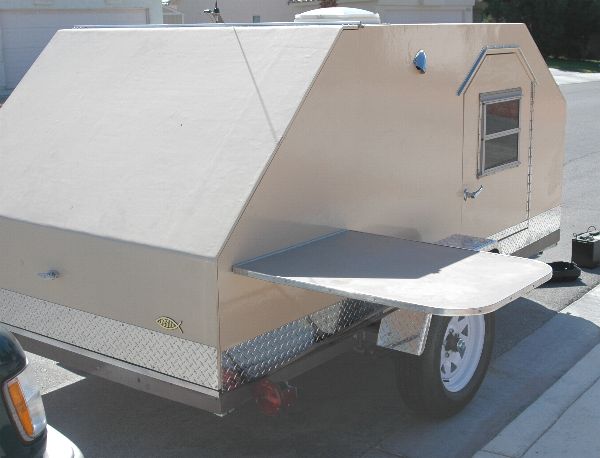 Note: I've been camping a few times since I originally installed the table and it's wonderful! I can't imagine being without one. August 31, 2008 I like how the galley looks, and more importantly, I like how the layout works with my cooking style. Lots of counter space without a lot of clutter. I added hydraulic struts on each side to make it easier to lift the galley hatch and to hold it open. The hatch is heavy so the struts are really great. 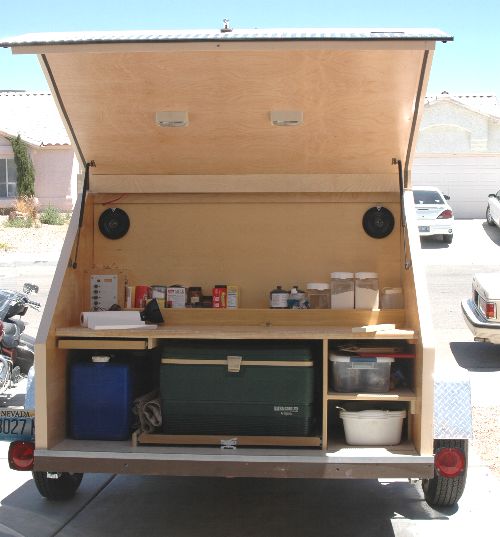 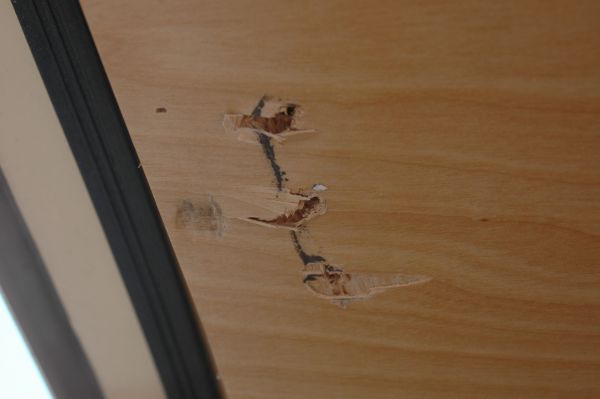 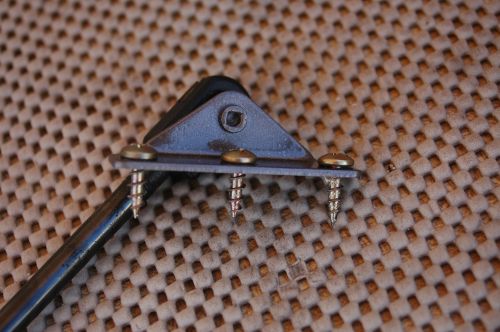 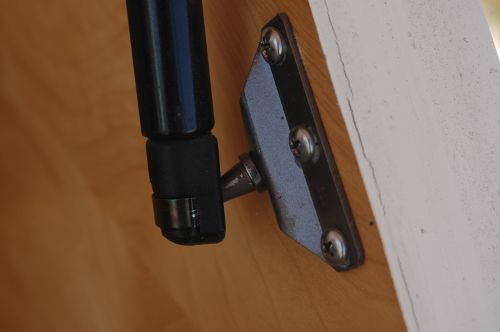 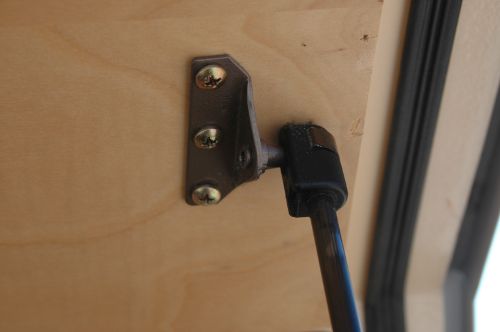 As the result of this problem I decided to remove the paneling on the hatch. The screws tearing out had done a lot of damage and the mounting structure itself needed to be rebuilt much stronger than I had done originally. There are a number of problems with the struts and the way that I installed them. I've done some on-line research and found that the brackets that I purchased were the wrong ones for the pressure of the struts. I purchased the struts and brackets at a local trailer supply store and simply picked the struts and brackets from their selection. What I didn't realize at the time is that these brackets were not designed for the 135 lb struts that I purchased. That is the reason that the brackets themselves started to bend. I also did not realize how much stress the struts would place on the hatch itself. I built the strut mounts out of plywood and poplar that I had laying around. Obviously the poplar was not strong enough to hold the three screws that I used to attach the brackets. Lastly, although these struts are 135 lb each, I have found that in cool weather they just weren't strong enough to hold up the hatch. (lower gas pressure in cold weather and higher gas pressure in hot weather) I am going to need to purchase stronger struts along with stronger brackets. I will also have to rebuild the section of the hatch so it will properly support the stresses applied by the struts. This is an example of where the lack of professional engineering expertise becomes obvious. It would be pretty straight forward for a mechanical engineer to analyze the forces involved and design the entire hatch opening system so it would work without the types of problems I am facing. August 29-30, 2009 I've been camping in my trailer for a couple of years now. Over time I have learned what works as I hoped and what I would change if I were to build another trailer. I have always planned on doing something with the area between the two speakers, but just couldn't decide. I wasn't sure if I wanted to build a place to hold plates, cups and bowls....or maybe a spice rack. I decided to leave it unfinished for a while and let my camping experiences tell me how I could best use that space. 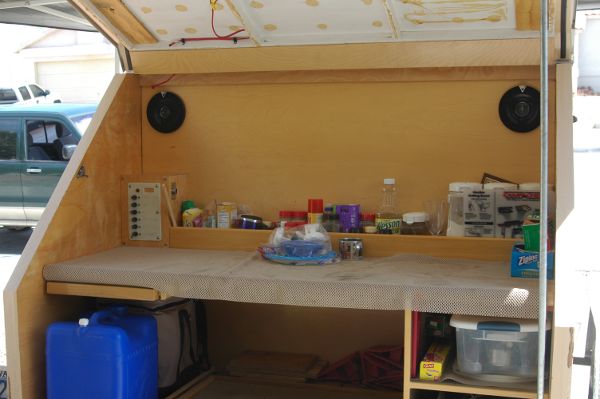 I've finally decided that I want to add a spice shelf. The larger containers of cooking ingredients pack well into the storage area at the back of the counter. The smaller containers of cinnamon, vanilla, salt, pepper and the like tend to be hard to find in between other items. An upper shelf would be perfect for the smaller items. They will store securely, be easily found, and not interfere with the hatch when it closes.  I purchased a piece of poplar that will match the existing poplar in the galley. The shelf needs to be low enough to create a useful storage area but high enough that I can still store my flour and sugar containers. I placed the shelf right where I wanted it to go, then set some spice containers on it and verified that the hatch would close without crushing anything. Better to find out now.... 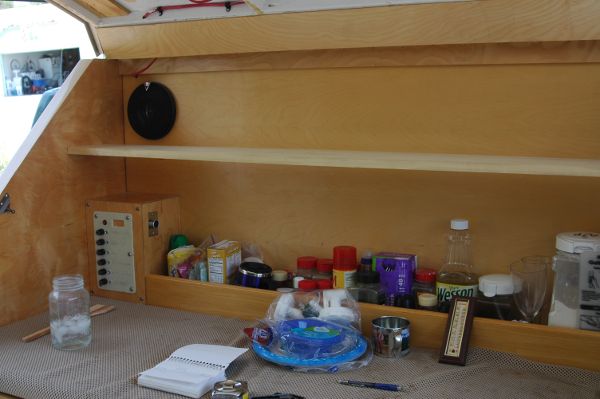 Some months ago we had someone get into the garage and steal quite a few of the power tools. Insurance helped pay for the replacements but between deductible and depreciation, they paid for about half of what was stolen. I really hate thieves! Enough whining.... I really liked my previous Hitachi drill so I purchased a lithium-ion version this time. The new battery is more light weight and has a long run time. My jig saw was an inexpensive Black & Decker. This time I spent twice as much and bought a DeWalt. I had a bit of buyer's remorse as I was walking out of the store. Do I really need to spend the extra money? Am I buying it just for the prestige of owning a DeWalt? This project erased every bit of concern I had about buying it!! The difference between the B&D and the DeWalt is night and day. If this saw was to be stolen, I'd go out an buy another one exactly like it. What a dream to use!  The shelf is going to go all the way across the width of the galley, but the spice rack is only going to be in the center and not extend in front of the speakers. I decided to cut away a portion of the shelf that is in front of the speakers. This will make the shelf look more proportional and less "heavy". The spice rack will also follow this curve. 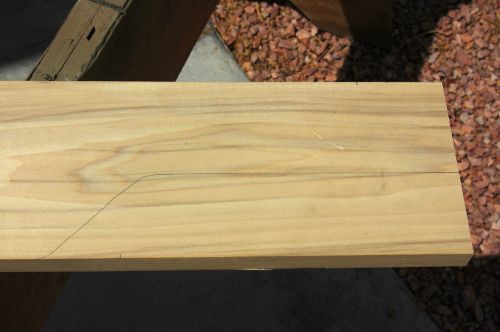 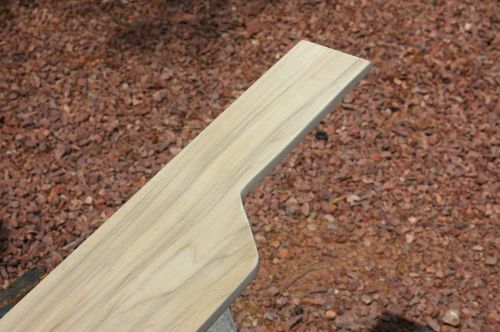 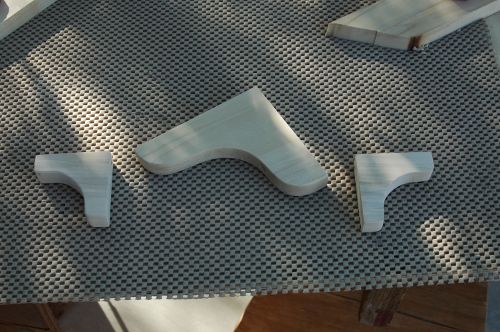 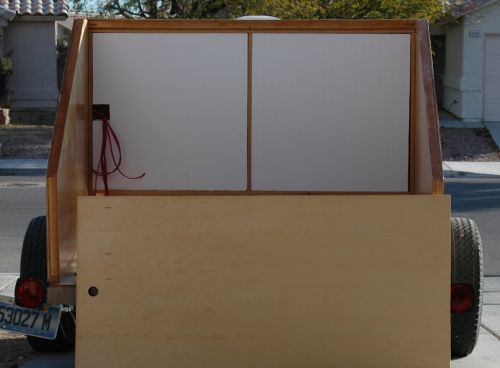  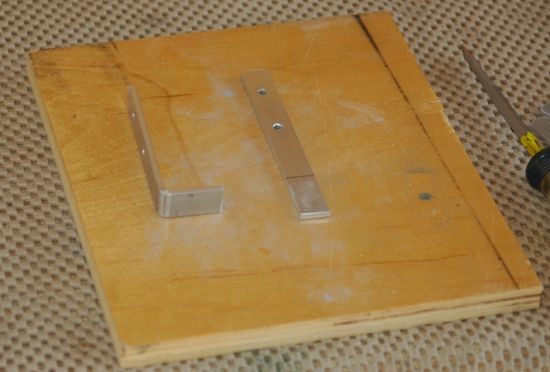 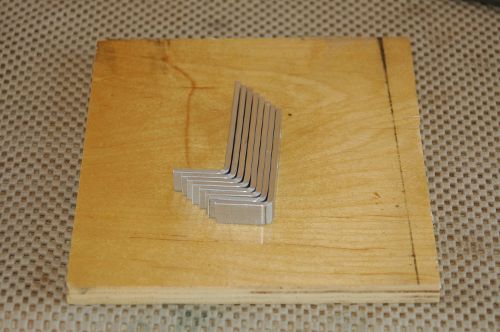 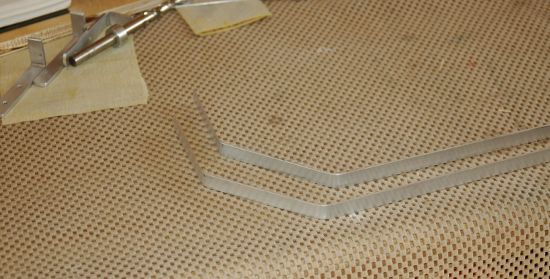 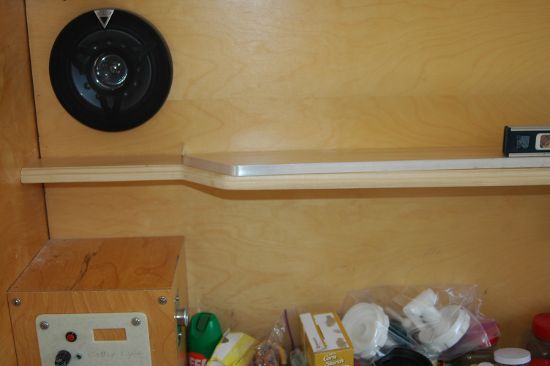 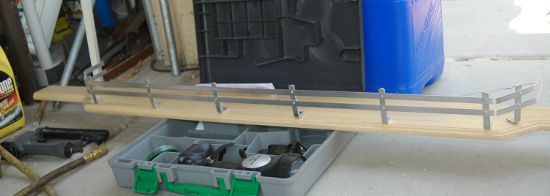    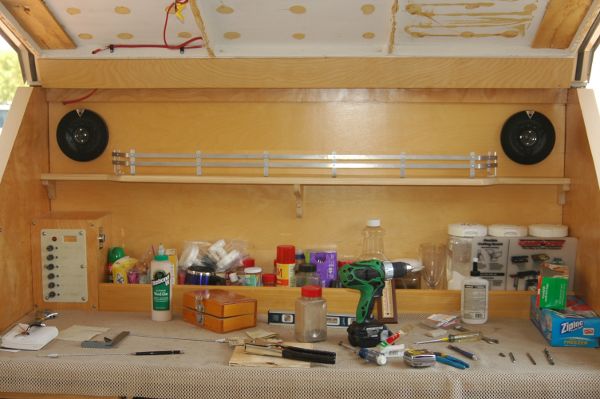 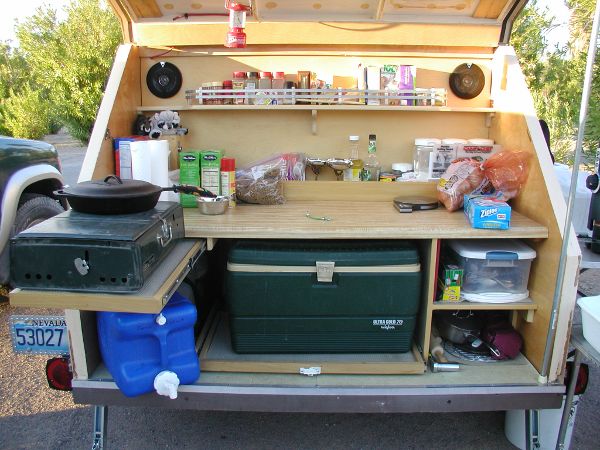 |